Bloatware in Windows 11 can cause performance issues in your computer and significantly reduce the performance of your computer. So we have come up with a detailed guide on how to debloat Windows 11. The new iteration of Windows already has less bloatware than the previous versions of Windows but if you have an older pc then this method will help you to boost the performance of your PC.
Sadly, regardless of whether you performed a perfect installation, Windows 11 accompanies a lot of bloatware applications and software that may ceaselessly run behind the scenes, squandering battery duration, and gathering utilization information (telemetry) without a choice to switch them off.
Even though you could go through hours attempting to sort out the things you can eliminate and additional time utilizing PowerShell orders, there is a device known as “ThisIsWin11” that makes it simple to debloat Windows 11 rapidly. The instrument is accessible through GitHub, and it’s a basic piece of programming to uninstall a huge number of unnecessary software without any hassle.
In this guide, we will discuss how to make your Windows 11 computer bloatware-free without any hassle.
How to Debloat Windows 11 and Remove Unnecessary Applications and Services?
To remove all the bloatware and unnecessary applications from Windows 11 follow the steps mentioned below:
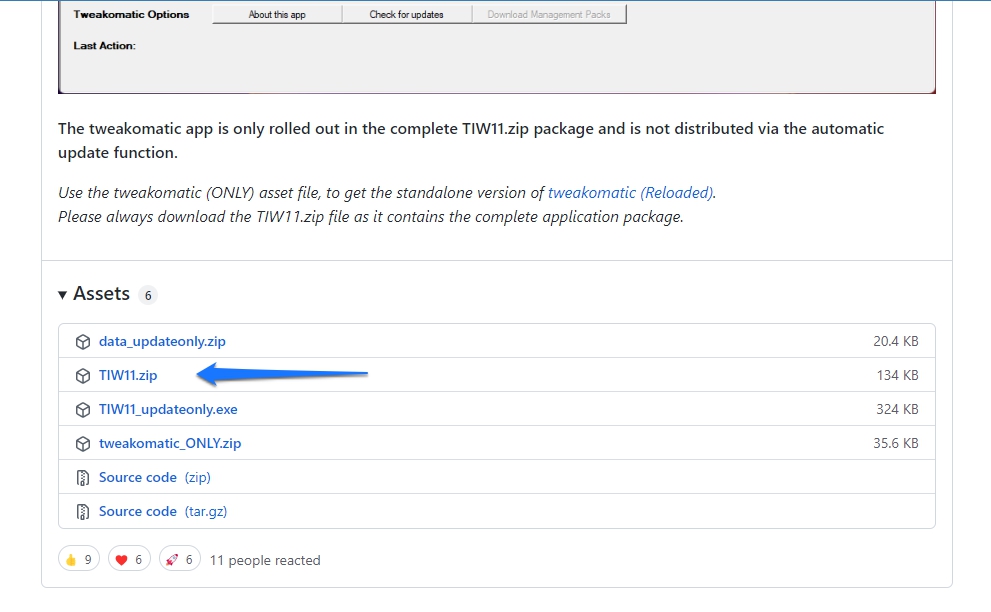
- Open any browser available on your computer and search for https://github.com/builtbybel/ThisIsWin11/releases in the search bar.
- Now click on the TW11.zip file available below the Asset section.
- Then open the TW11.zip file you just downloaded.
- And click on the Extract all option available at the top.
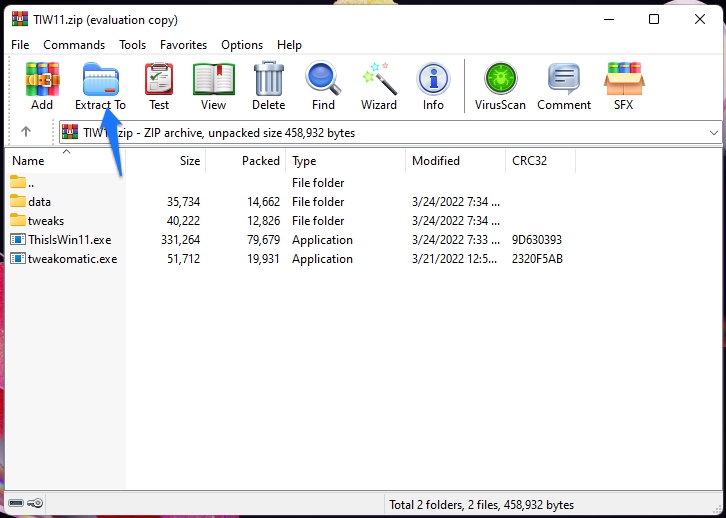
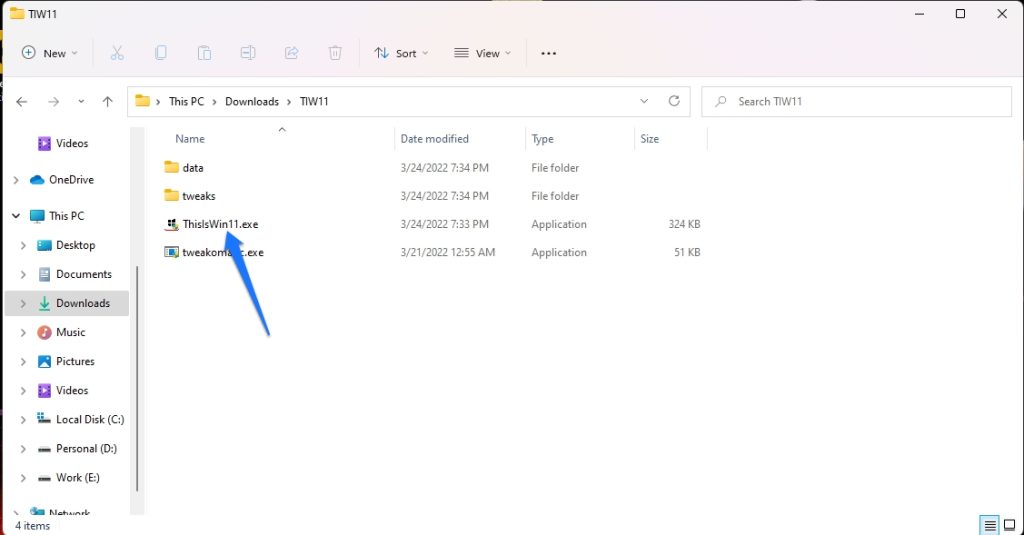
- Now open the uncompressed folder and launch the ThisIsTIW11.exe.
- Click on the Run anyway button if it pops up.
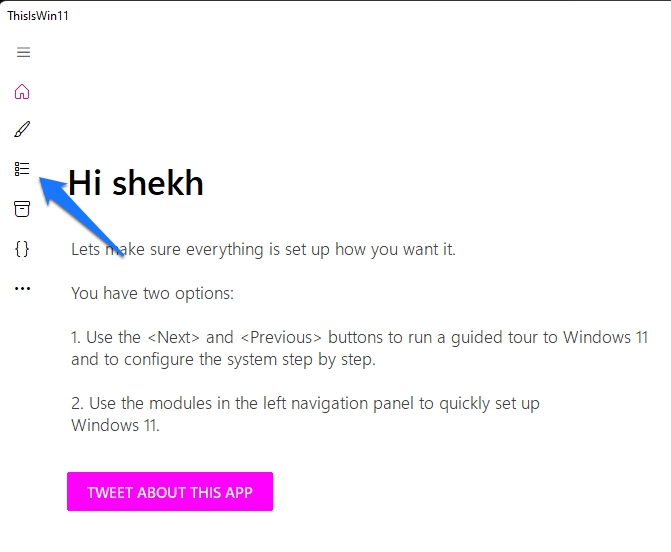
- Now click on the Debloat Windows 11 option available on the left side.
- Select the applications you want to remove from the list and then click on the Move selected button.
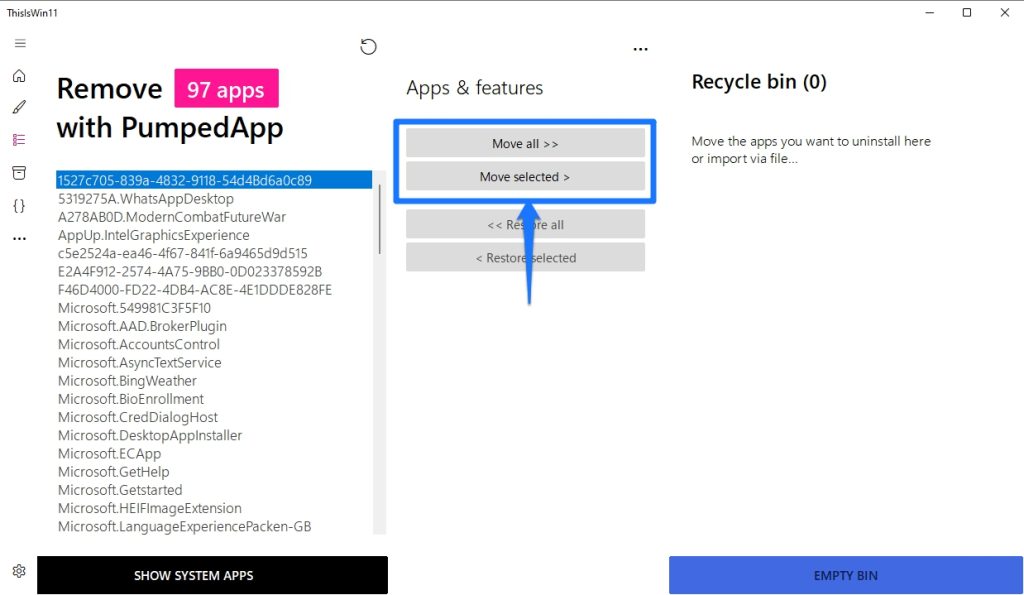
- If you want to debloat all the applications simply click on the move all button.
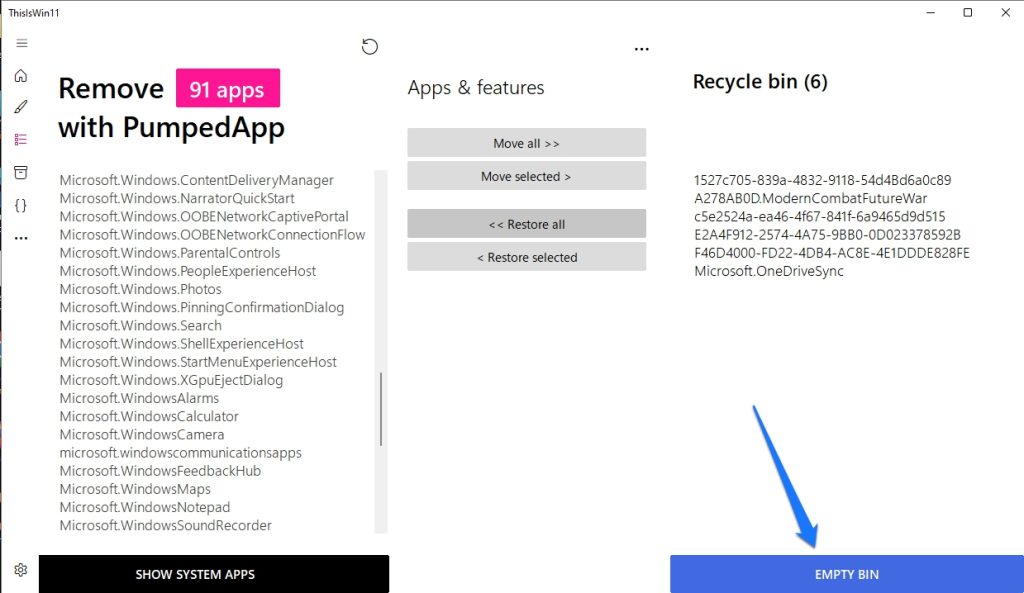
- Now click on the Empty Bin option to delete all the bloatware.
- Once you are done with the steps mentioned above, the tool will clean up all the bloatware from your computer.
Then perform a fresh restart and you are good to go.
Change the Windows 11 Settings
You can do many other things with the tool besides removing bloatware from your computer. This tool can also help you customize your Windows 11 computer without performing any party tricks. You can also uninstall broken updates and many more with this tool. To do so follow the steps mentioned below:
- Launch the ThisWin11.exe application.
- Click the Run anyway button if the popup shows up.
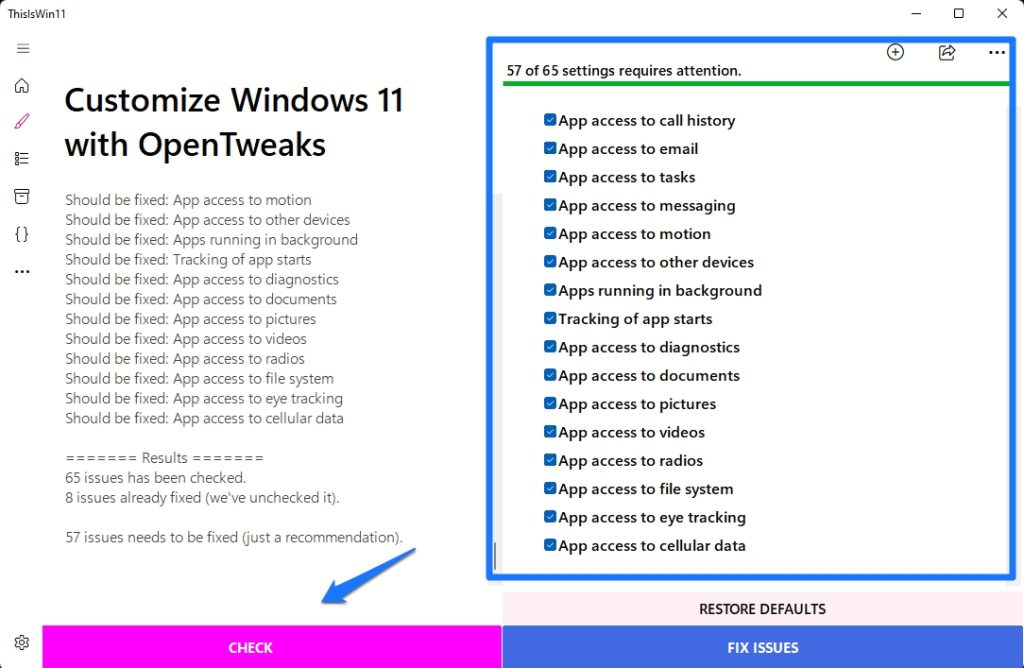
- Then click on the Customize Windows 11 option from the left side.
- And select the customizations you want to apply on your computer and then click on the check button to preview the changes.
- Now click on the Fix Issues button to apply the changes.
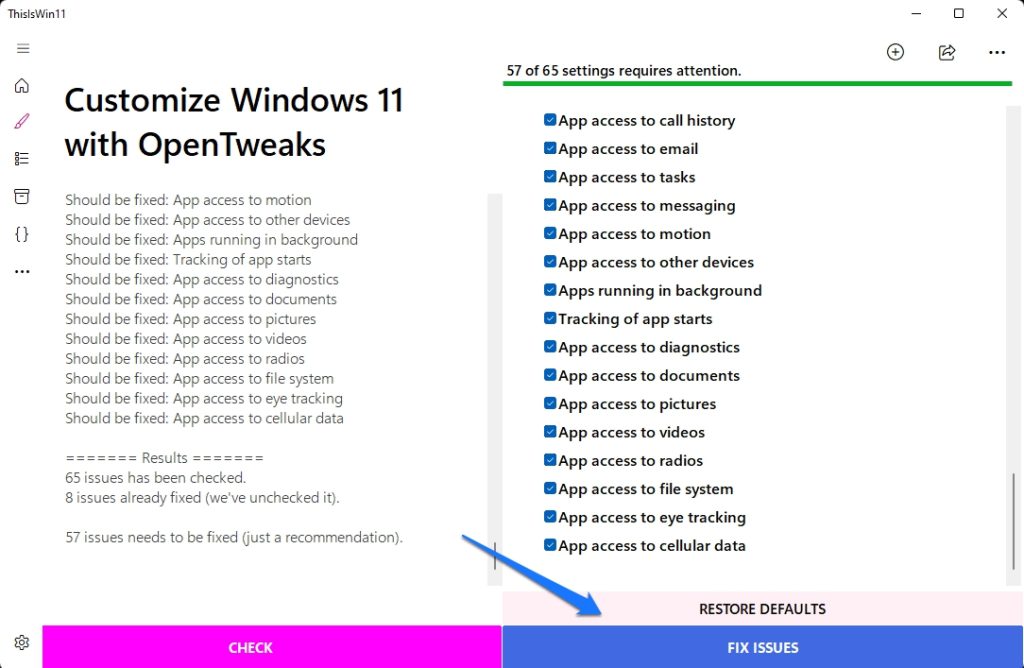
- And restart your computer and it is done.
Conclusion:
That’s all for our how to debloat Windows 11 guide, I hope it helped you to debloat your Windows 11 system and optimize its performance. Follow the steps given carefully and get a performance boost by removing all the apps in Windows 11.
Hope our guide works for you.
Thank you.